
- Offer Profile
- Nikon provides a variety of products, services, and solutions worldwide, based on advanced opto-electronics and precision technologies cultivated during the company’s more than 100 years of history. To meet the diversifying and sophisticated needs with solid technical capabilities, we have established a flexible Monodzukuri (manufacturing) system throughout the Nikon Group.
Nikon presents

X-ray and CT
-
Unlock New Possibilities with Nikon’s Cutting-Edge X-ray and CT
Nikon’s cutting-edge X-ray and CT systems empower customers with powerful 3D imaging for component analysis to meet immediate business needs and uncover new opportunities. Innovative in-house microfocus X-ray sources up to 450 kV enable detailed visualisation from tiny connectors to large castings. Nikon’s X-ray and CT solutions provide the insights and efficiency gains manufacturers seek, and flexible automation supports precise quality control across R&D, failure analysis, and manufacturing. With exceptional scan volume, resolution, and speed paired with unparalleled image quality and repeatability, Nikon’s systems reveal customer parts in new ways.
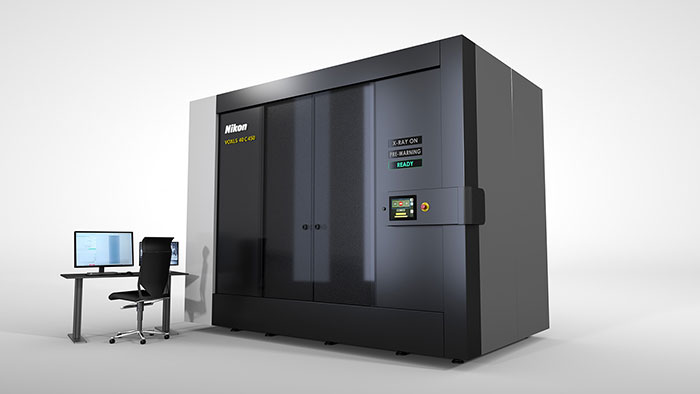
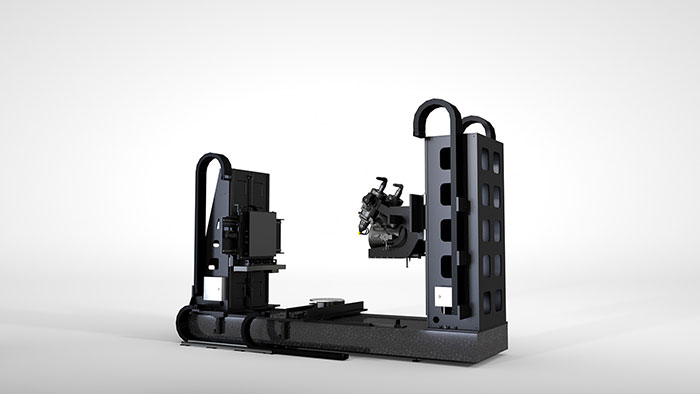
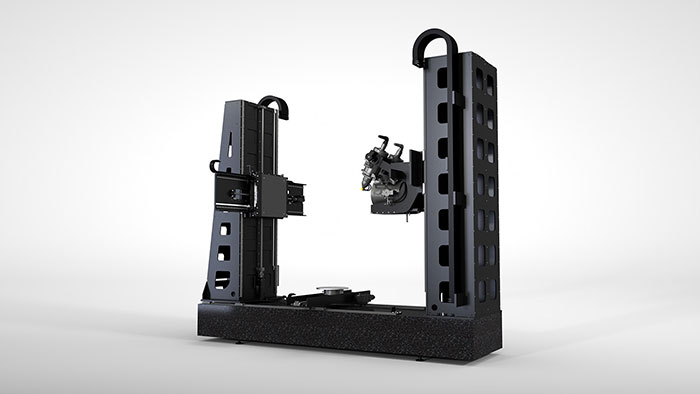


Large Envelope CT
-
Nikon’s VOXLS 40 Series offers configurable X-ray and CT systems with large inspection envelopes supporting multiple sources and detectors to suit the most demanding inspection requirements.
Product highlights:
- Highly Configurable Line-up
- Multi-source Functionality
- Dual Detector Flexibility
- Metrology Grade Manipulator
- Large Scanning Envelope
- Automation-ready for the Shop Floor
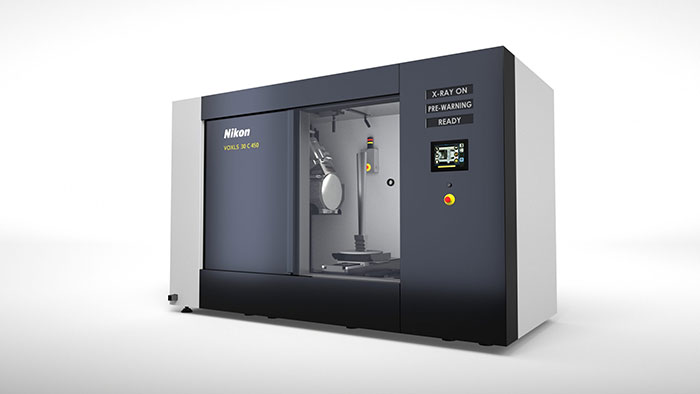
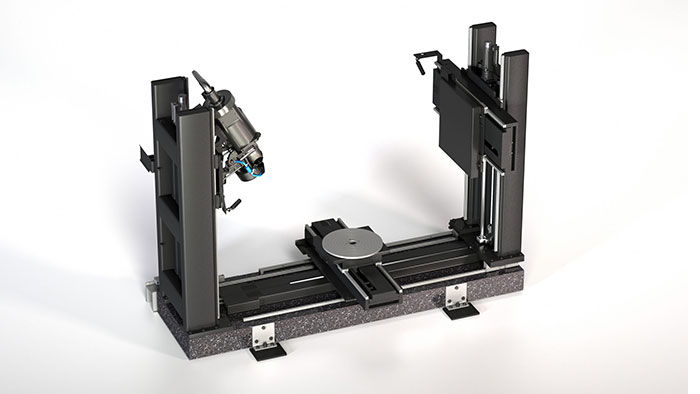
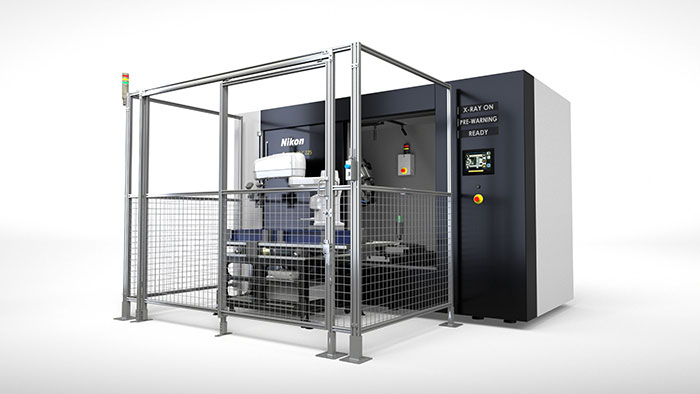


VOXLS 30 Series
-
Automation ready, packaged in an efficient footprint and paired with source energies of 225 kV, 320 kV or 450 kV. Ideal solution for small- to mid-sized samples of low to high density.
Product highlights:
- Three Source Options
- Motorised FID
- Scan Envelope Enhancements
- Metrology-Grade Manipulator
- Unrivalled Visibility
- Automation Ready



XT V Series
-
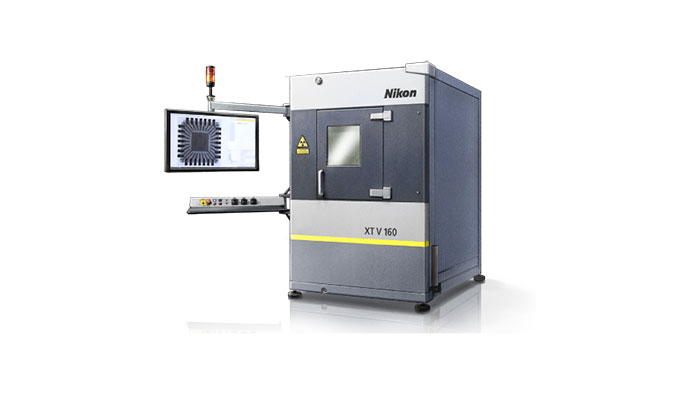
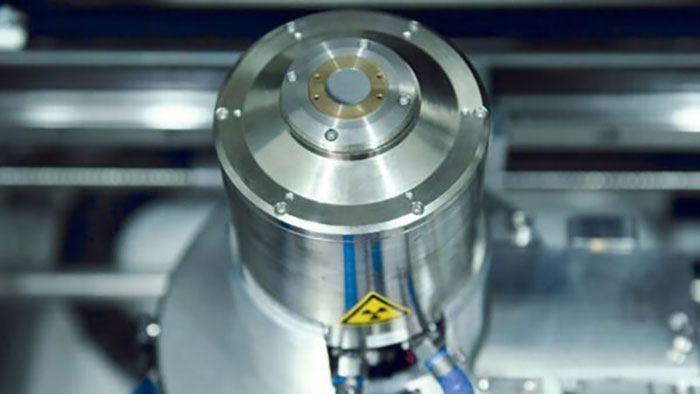
Versatile microfocus CT systems for high-resolution inspection in R&D and failure analysis of components ranging from tiny plastic connectors up to aluminium castings.
Product highlights:
- Superior X-Ray Source
- Powerful image enhancement
- PCB Analysis Suite
- Oblique Angle Concentric Imaging


XT H Series
-
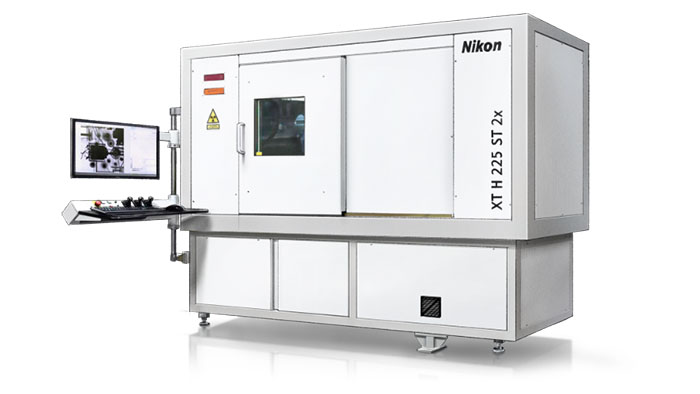
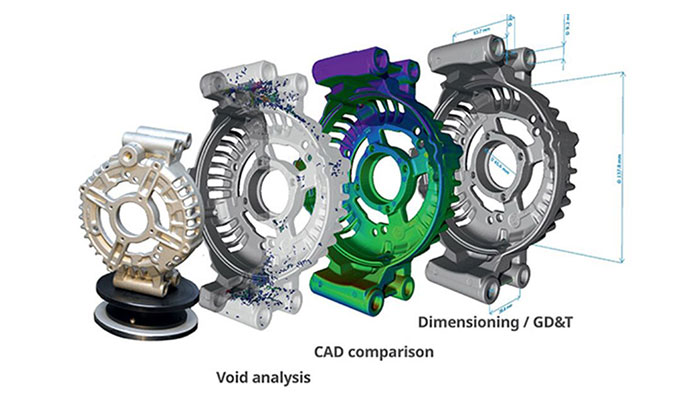
Interactive radiography inspection or detailed CT scans of PCB boards, electronic components or small parts in a wide range of industries.
Product highlights:
- Flexibility When You Need It
- X.Tend Helical CT
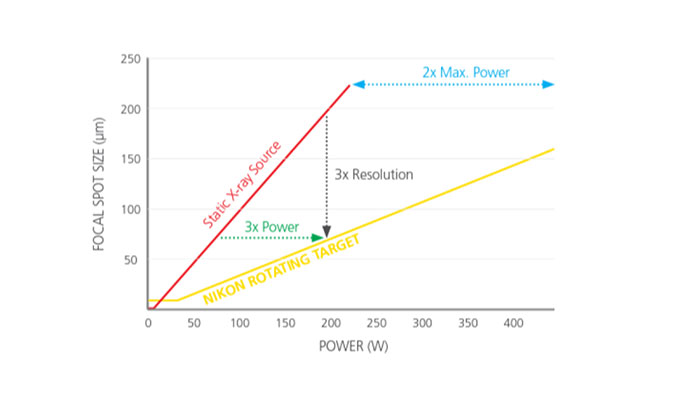
- Unique 225 kV Rotating.Target 2.0
Laser Radar Measuring Systems
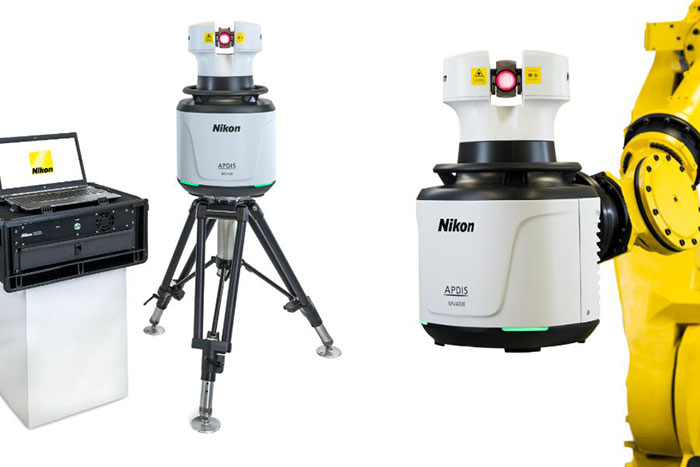


APDIS Laser Radar
-
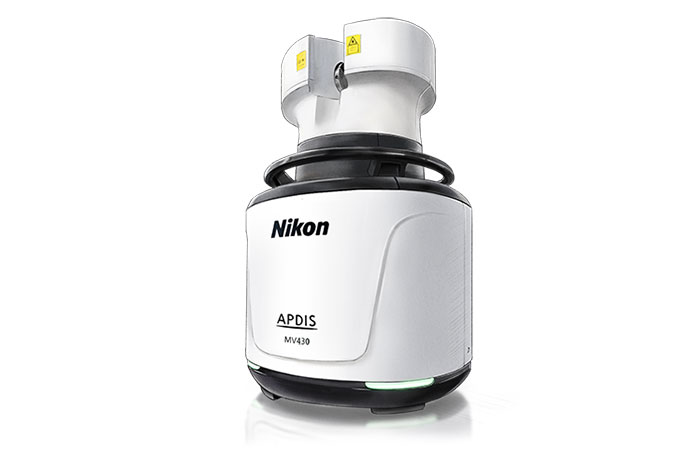
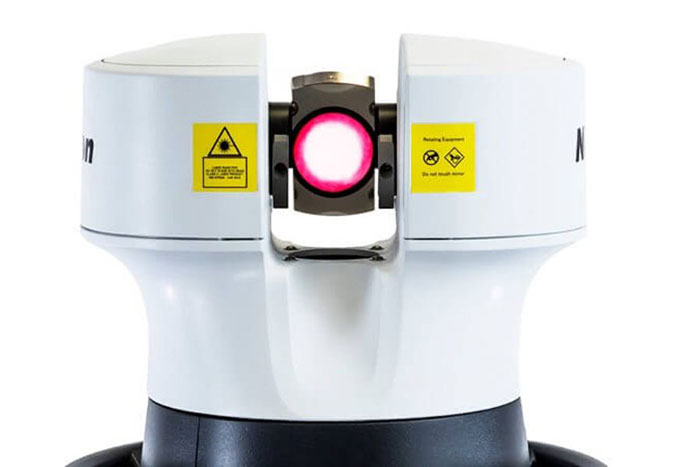
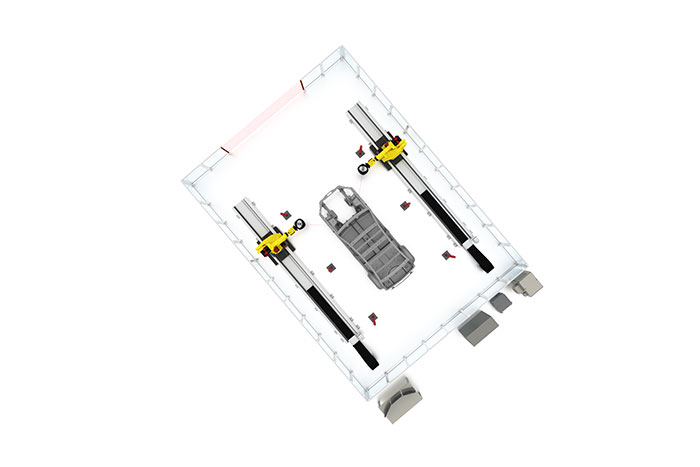
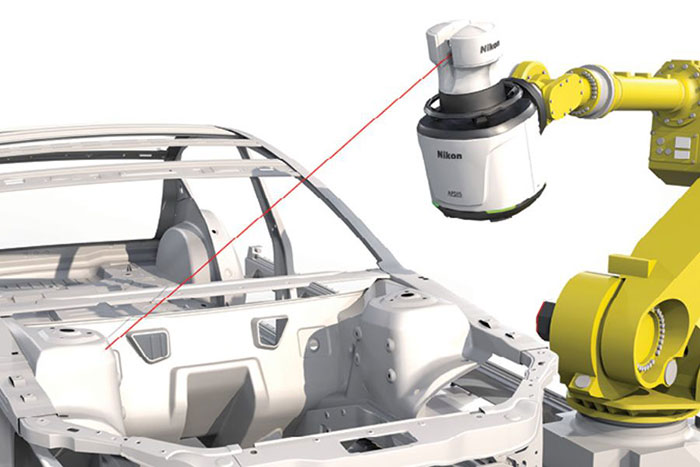
The APDIS MV4x0 is the latest generation of Nikon’s Laser Radar, offering the smallest and most productive system ever produced
Automated Non-Contact Measurement
The ability to measure detail at distance, without the need for handheld probes, targets or surface preparation, means that Nikon’s APDIS Laser Radar is ideally suited to automating repetitive inspection tasks covering a huge range of manufacturing, industrial and research applications, including those that involve hard to reach features and are complex, delicate or labour intensive.
APDIS Laser Radar Benefits:
- High Productivity
- Flexible Installation
- Protects Part and Operator
- Minimal Preparation
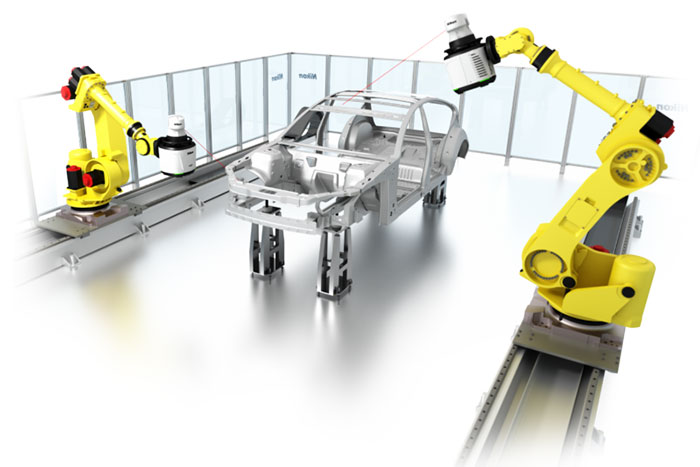


APDIS BiW Measurement Systems
-
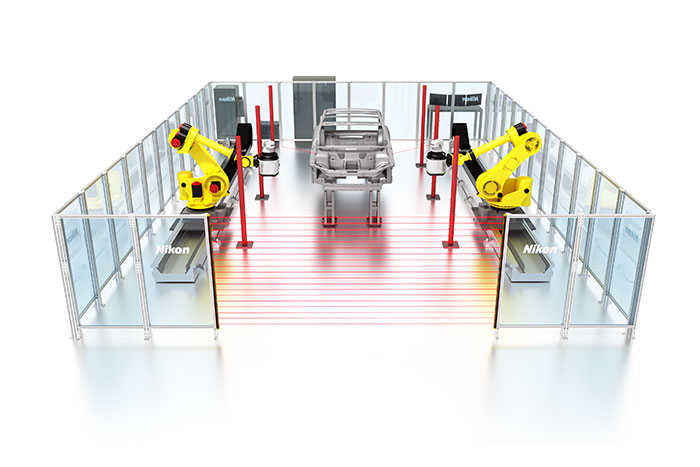
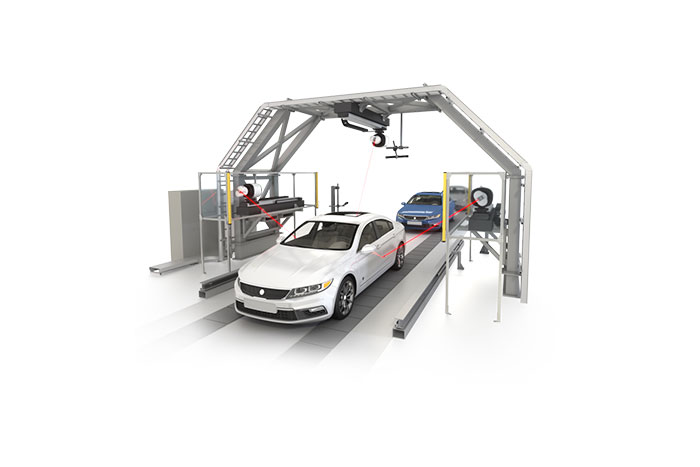
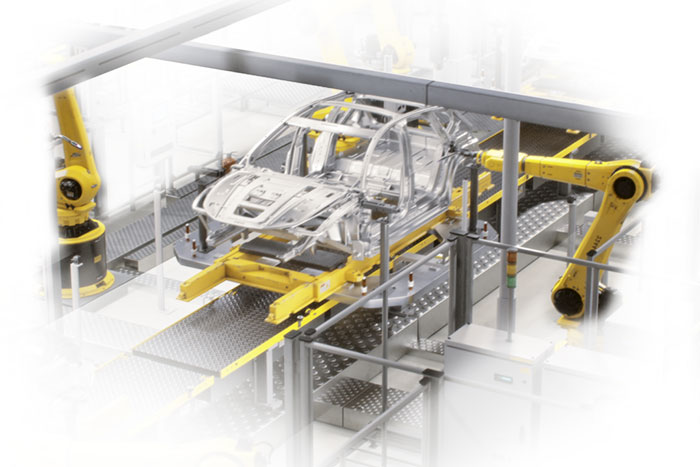
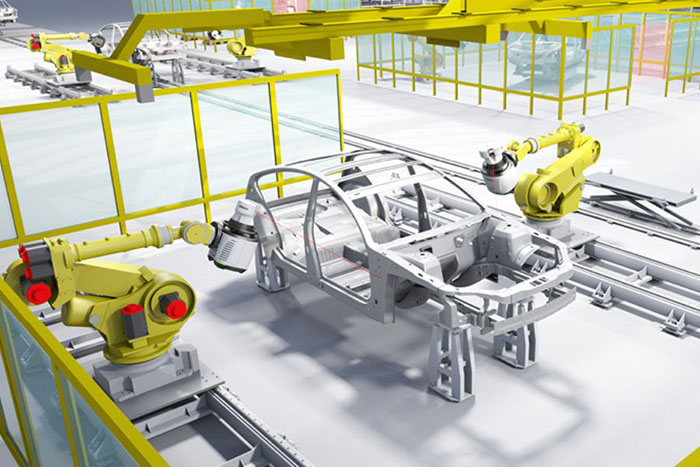
The new APDIS Intelligent Quality Stations are the next-generation, fully-automated non-contact CMMs for body in white and components – designed with the automotive industry in mind.
Productivity, Flexibility, Simplicity
With the ability to measure over six times faster than traditional CMMs, be installed on the shop floor, and enhanced by ease of programming, the APDIS IQ stations provide unparalleled productivity, flexibility and simplicity for a CMM system. Precision measurements of features can be made without adapters, probes or coatings to high accuracy and repeatability, allowing quality control feedback quickly and easily where it’s needed.
Product highlights:
- Laser Radar technology
- Robot independent
- Shop floor installation
- Precision measurements
- Feature coverage
- Safety of parts and operators


APDIS Gap & Flush System
-
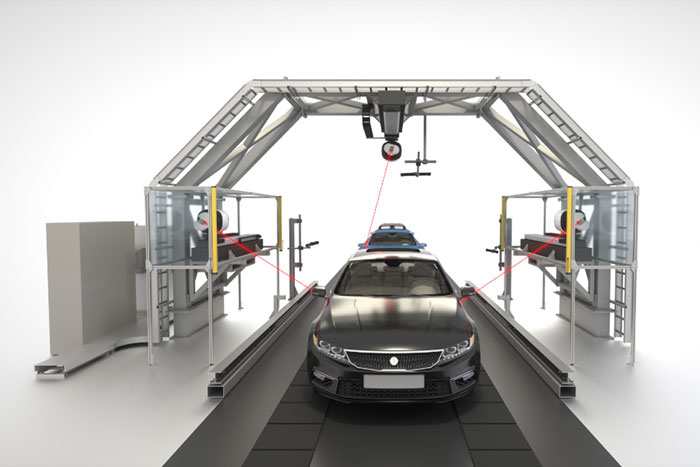
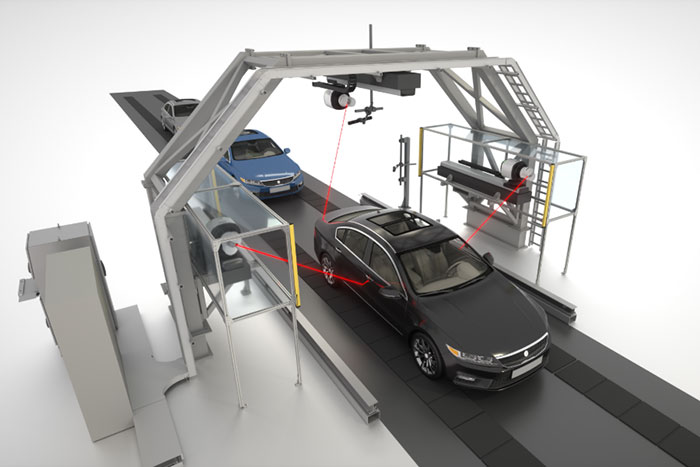
The APDIS Gap & Flush System delivers a new approach to vehicle-on-wheels moving line quality inspection.
Quality Perception and Control
Panel and closure gap and flush can directly impact a customer’s perception of the quality of a vehicle and brand. Reliable measurement of these features allows process feedback and quality control, but needs to be done automatically and safely whilst the vehicle is moving. This is provided by the APDIS Gap & Flush system.
Product highlights:
- Simpler Installation
- Easier Modification
- Reduced Complexity


APDIS in Automotive
-
The APDIS Laser Radar can be used across a wide range of automotive metrology and process control applications
A Paradigm Shift in Shop Floor Inspection
The APDIS MV430E provides the fastest feature measurement of any Laser Radar to date, allowing inspection of critical features in the takt time of the line, or a sampling strategy to cover more features over a set of car bodies for true process control.
Benefits for Automotive:
- Direct comparison to CAD
- Robot independent accuracy
- Boost inspection productivity
3D Laser Scanners
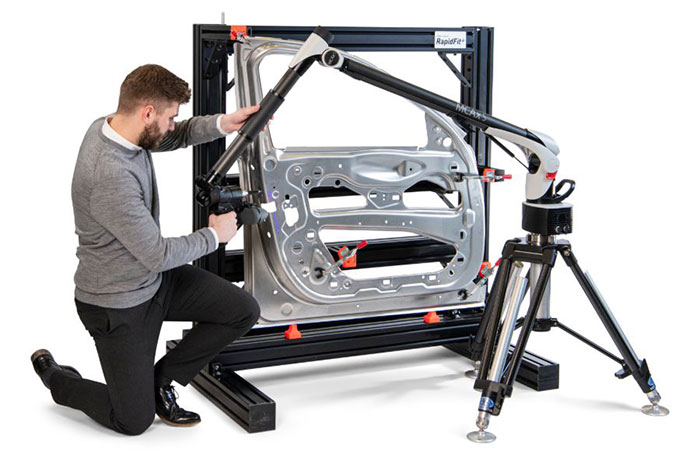
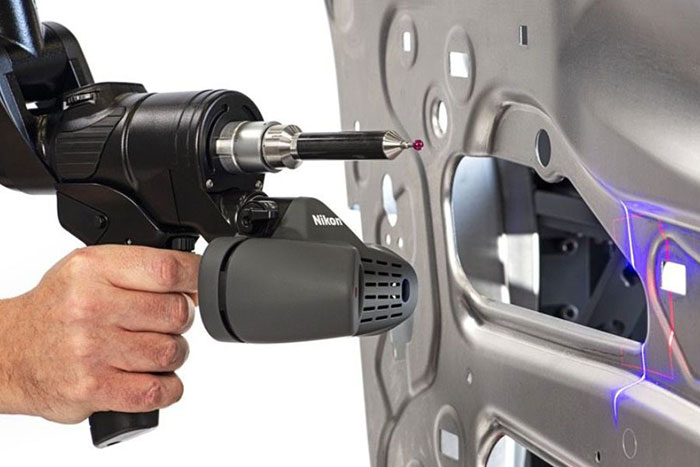


Manual 3D Scanning - ModelMaker H120 and MCAx S System
-
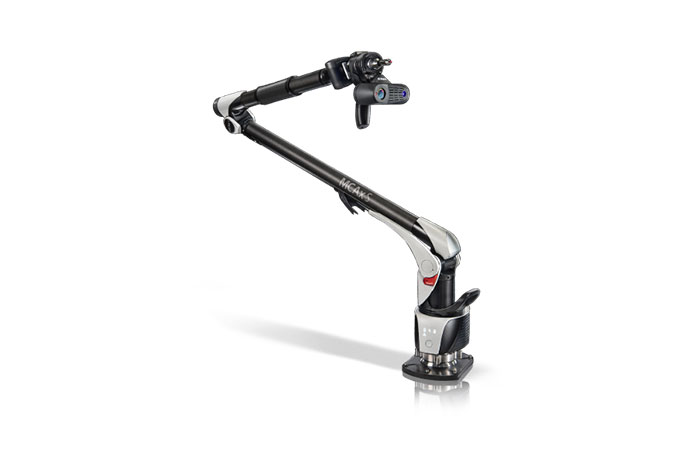
The portability of handheld scanning systems enables fast, accurate measurement directly on the shop floor, making it ideal for one-off dimensional inspection.
Portable Precision, Detail and Productivity
Measure challenging materials with exceptional detail at high speed directly on the shop floor. Pairing the ModelMaker H120 laser scanner with the MCAx S range of precision portable CMM arms delivers unparalleled freedom to accurately investigate production quality in all industrial applications.
Product highlights:
- Simpler Installation
- Easier Modification
- Reduced Complexity
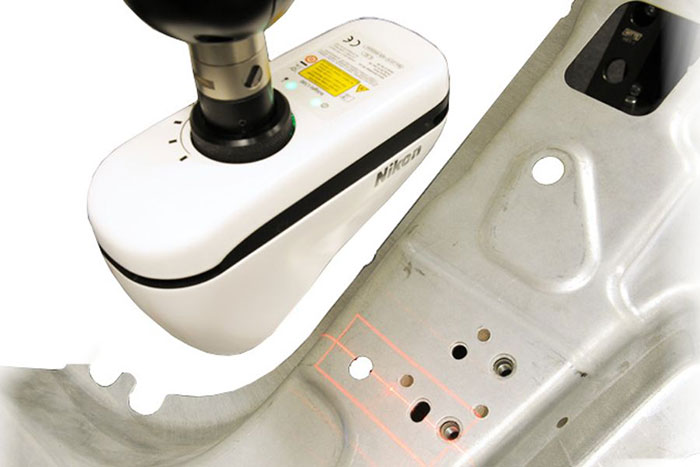
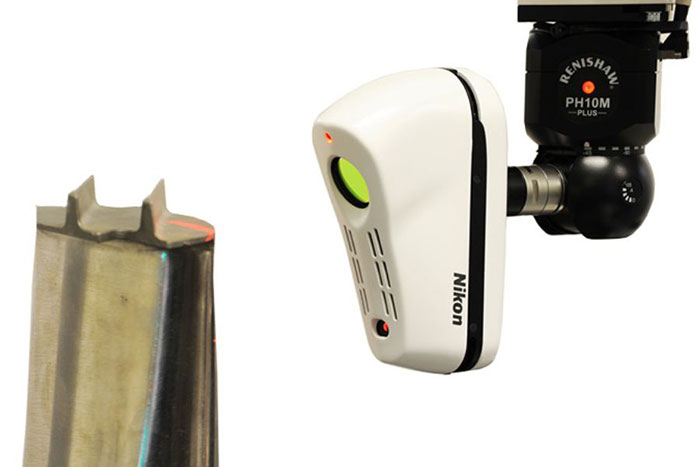
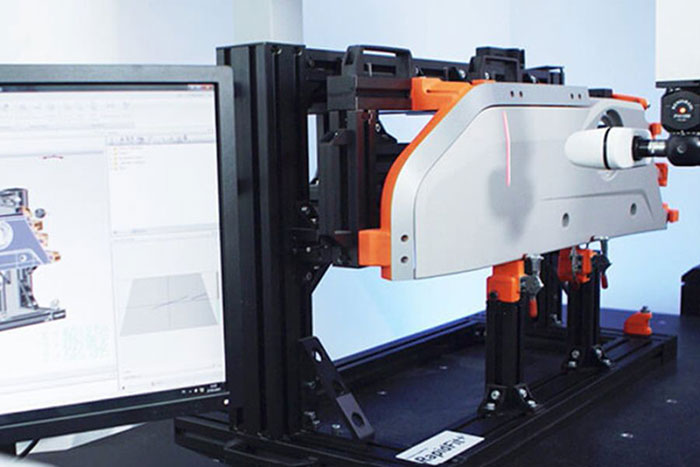


Automated 3D Scanning - L100
-
CMM laser scanners make optimal use of a CMM’s ability to automate repetitive measurement tasks while maintaining maximum inspection accuracy.
The L100 laser scanner from Nikon is ideal for the inspection of components where productivity is key, without having to compromise on accuracy. It offers exceptional precision and delivers high levels of detail.
Product highlights:
- Automated Data Collection
- Easy To Use
- Extend the Measurement Reach


Automated 3D Scanning - LC15Dx
-
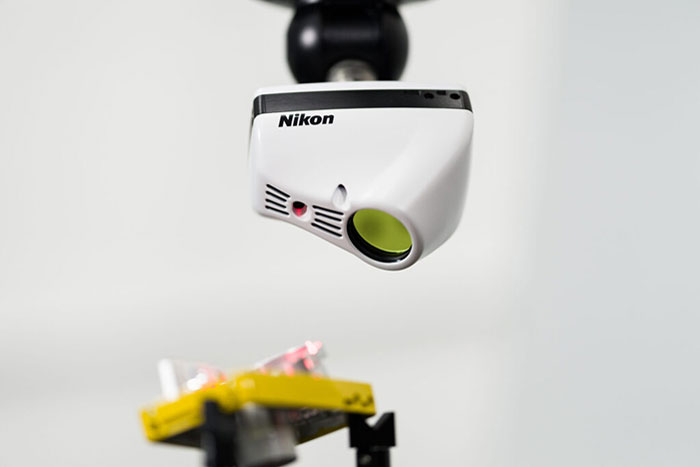
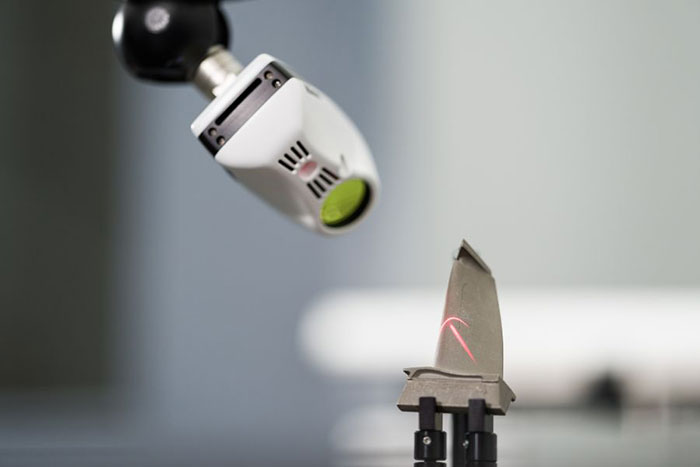
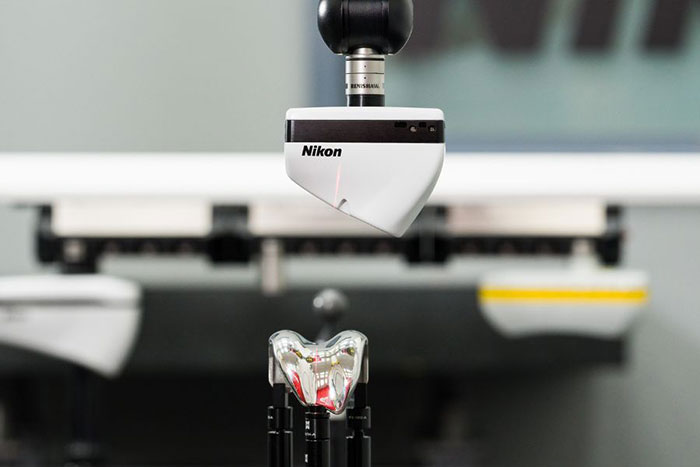
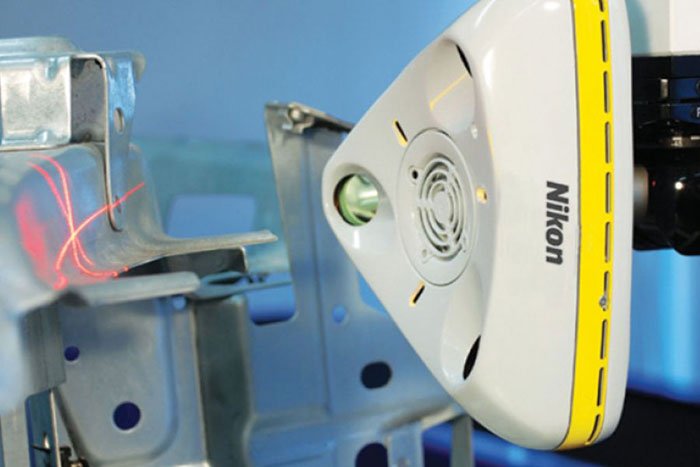
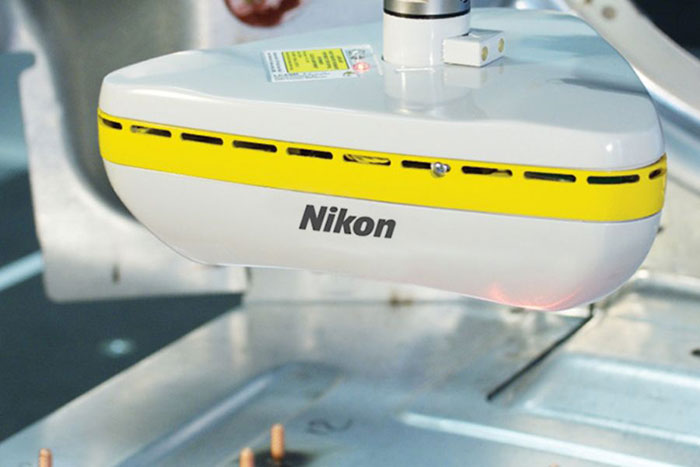
The LC15Dx captures the smallest details with the highest accuracy, providing valuable capability for inspecting components ranging from small aerofoils to intricate sheet metal parts.
Measurements at the Highest Accuracy Level
Thanks to custom-designed, top quality Nikon optics, the LC15Dx captures the smallest details with precision while maintaining speed and data quality. It does this by optimising the laser settings in real time to match the type and reflectivity of the material being inspected.
Product highlights:
- Precision and Detail
- Measure Any Surface
- Productivity
- Automation
- Compatibility


Automated 3D Scanning - XC65Dx
-
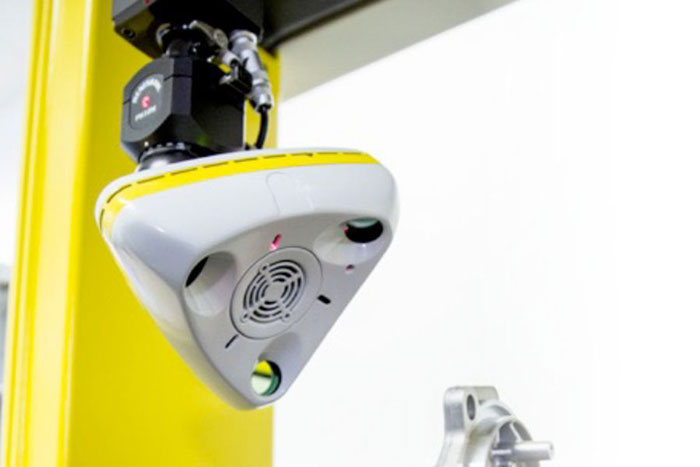
The triple-laser XC65Dx cross scanner captures 3D features and surfaces in a single pass, greatly increasing scanning productivity.
Increase Productivity for Feature Inspection and Surface Measurement
From an individual part such as a car door to a fully assembled vehicle, the XC65Dx is the ideal scanner for inspecting geometric features and freeform surfaces. Productivity is greatly improved by reducing time spent on both programming and executing scan paths.
Product highlights:
- Easy Path-Programming
- Boost CMM Productivity
- XC65Dx-LS Long Stand-Off
Video Measuring Systems
NEXIV VMZ-S Series
-
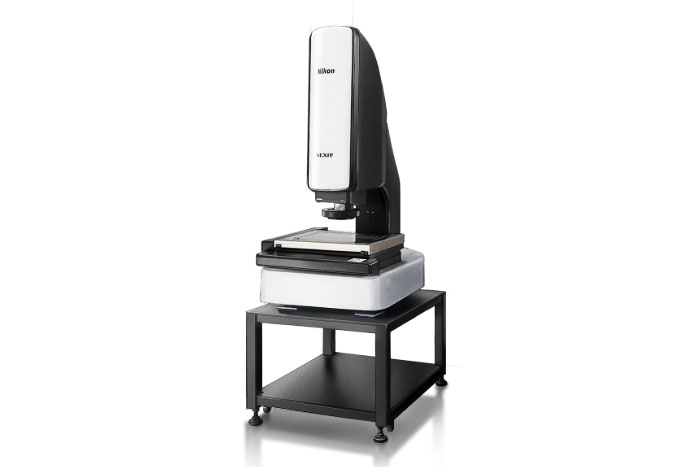
The NEXIV VMZ-S series offers speed and accuracy where high throughput is critical.
Speed and Accuracy where High Throughput is Critical.
The VMZ-S series provides three types of measuring envelope together with a range of high quality optics, complete with a TTL (through the lens) scanning laser as standard.
Capable of high-accuracy, high-speed measurement for fulfilling increasingly demanding inspection applications, the VMZ-S series is used in a wide range of industries.
Product highlights:
- High-Speed Height Measurement
- Ability to Measure Difficult Samples
- Non-Stop Automatic Measurement
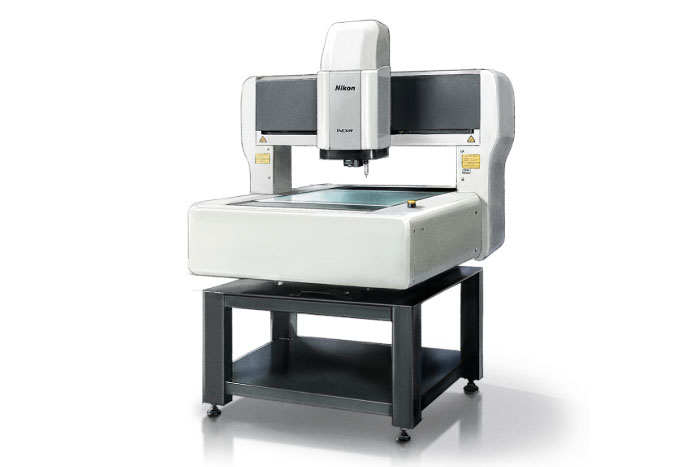
iNEXIV VMA Series
-
The iNEXIV VMA series is ideal for a wide variety of industrial inspection applications requiring both vision and tactile measuring.
Various Measuring Applications with a Wide FOV
The iNEXIV VMA series provides three types of measurement envelope together with wide field of view optics. These touch probe-ready systems are ideal for a wide variety of industrial measurement, inspection and quality control applications using both vision and tactile measurement.
The VMA series is optimised for speed and ease-of-use as well as repeatable, accurate measurement of a variety of different components.
Product highlights:
- Long Working Distance
- The iNEXIV VMA is able to measure the dimensions and angles of non-visible features, such as holes on the side of a component
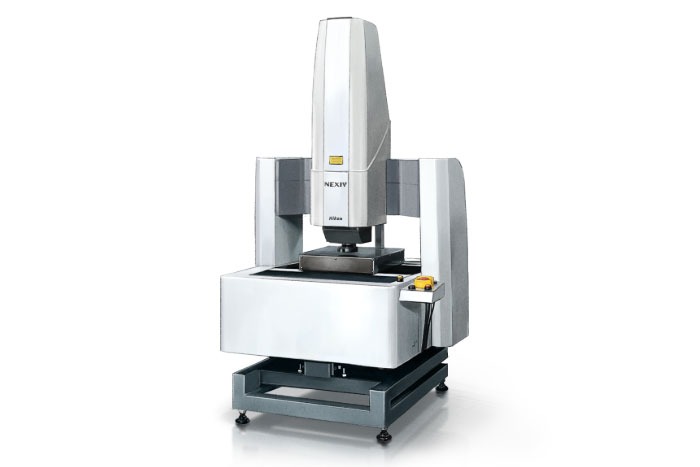
NEXIV VMZ-K Series
-
The NEXIV VMZ-S series offers speed and accuracy where high throughput is critical.
Ground-Breaking, Multi-Functional, Confocal Video Measuring System
This measuring system incorporates confocal technology, brightfield imaging with a 15X zoom and laser auto focus. No matter what geometrical measurements are needed, whether 2D or 3D, inspection and evaluation is exceptionally fast and accurate.
Confocal optics enable a clear display and facilitate accurate detection of high contrast edges.
Product highlights:
- Fine Bump and Substrate Pattern
- Probe Cards
- Precise PCB Pattern
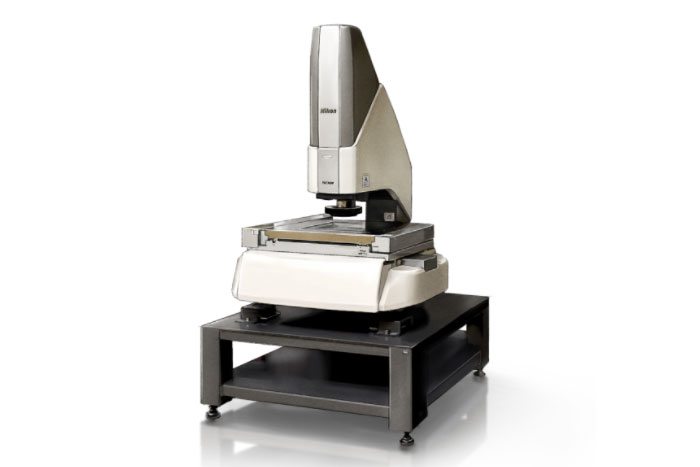
NEXIV VMZ-H3030
-
The VMZ-H3030 is easy to use, fast and enables the most accurate measurements in the NEXIV series due to precise stage operation and the high-performance optics.
VMZ-H3030 provides a 300x300x150 mm (X,Y,Z) measuring envelope together with a range of high quality optics, complete with a TTL (through-the-lens) scanning laser as standard. The system is designed to provide the ultimate in high accuracy measurement.
Highest Accuracy using the NEXIV Series
Due to its unique design and construction, the VMZ-H achieves the highest accuracy within the NEXIV series.
Product highlights:
- 5 Types of Optical Zoom System
- High-Speed Height Measurement
- Ability to Measure Difficult Samples
- Non-Stop Automatic Measurement
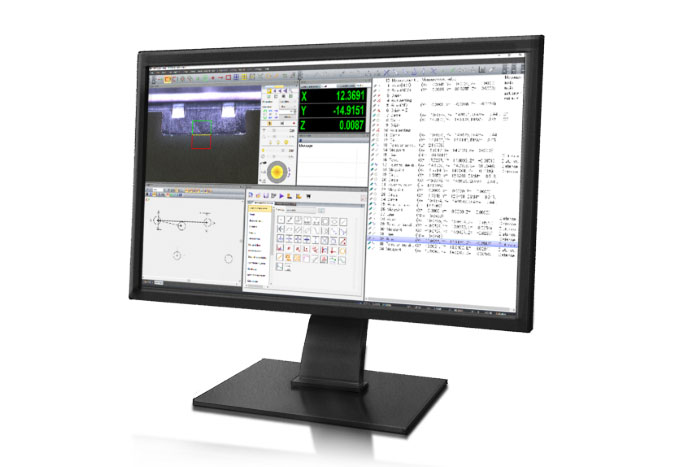
Software for Video Measuring Systems - NEVIX AutoMeasure
-
The software realises high accuracy, speed and usability, combining those attributes with valuable functions in a user-friendly GUI.
Easy to Use, Streamlined Software Suite
AutoMeasure is dimensional measurement software that is easy to use and logically configured to create measurement programs. AutoMeasure has advanced programming tools to tackle any measurement application and can be easily configured with a basic interface for operators on the shop floor.
Product highlights:
- Main Program AutoMeasure
- Lighting Optimisation
- Teaching Navigation
- Automated Edge Setting Function
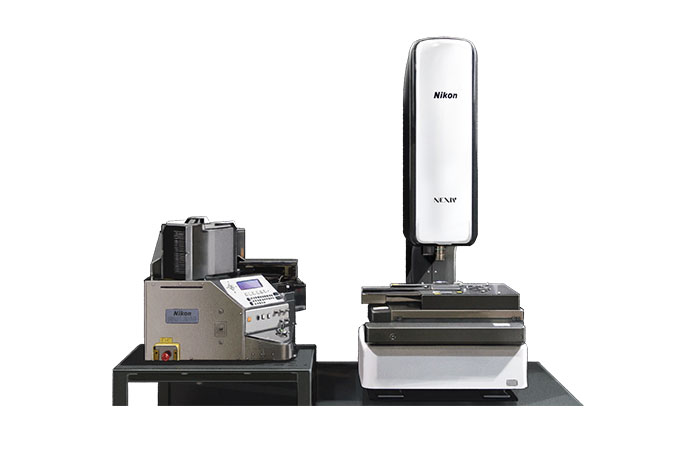
NEXIV VMZ-NWL200
-
VMZ-NWL200 is an automatic wafer measuring system that integrates a video measuring system “NEXIV” and a wafer loader “NWL200”. NEXIV automatically performs high-speed, high-precision measurement of 6-inch or 8-inch wafers held in a carrier.
High Reliability, Efficiency and Operability
The NEXIV video measurement system, used extensively in the global semiconductor industry, has been integrated with Nikon’s proven NWL200 automatic wafer loading system.
The result is the VMZ-NWL200, an innovative measuring cell with excellent reliability and efficiency. In addition, specially developed software simplifies complex operations required for process control. High quality data is fed back faster to the production line, maximising yield.
Product highlights:
- High Reliability
- High Efficiency
- High Operability
Optical Manual Measuring
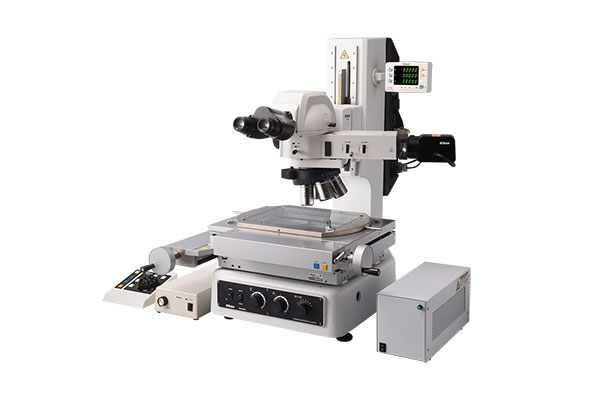
Measuring Microscope - MM-400N and MM-800N Series
-
A set of precision and accurate manual measuring microscopes designed for all industrial measurement and image analysis applications, focusing particularly on repeatable data capture- all with an easy user workflow.
High Precision Construction for More Accurate Measurement
MM-400N and MM-800N Series microscopes operate within a digital control system, providing excellent measurement accuracy for industrial in-line and quality assurance applications. The instruments are ideal for inspecting, measuring and verifying both 2D and 3D features across a wide range of components.
Product highlights:
- Robust, Precision Build for Repeatable Accuracy
- Two Optical Systems
- MM Controller Backpack Interface
- Optional Focusing-Aid (FA) Capability
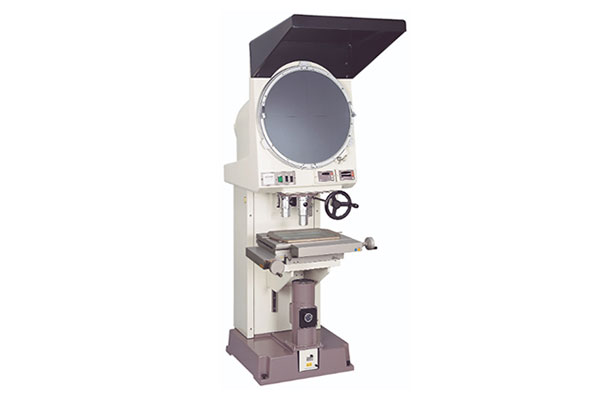
Profile Projectors - V20B
-
The V-20B is a floor-standing optical profile projector offering superb image quality and capable of precisely measuring a feature’s X-Y co-ordinates. The image of the sample is displayed on a 20” (500mm) screen, enabling accurate data capture from the stage.
High Precision Construction Provides Accurate Measurement Results
The V-20B provides excellent measurement accuracy for a range of industrial in-line and quality assurance applications.
Inspect, measure and verify 2D and angular features across a wide range of manufactured components.
The floor-mounted profile projector provides accurate results due to the precision instrument’s robust construction, Nikon optics and coordinate measuring stages.Product highlights:
- Substantial 20”(500mm) Projection Screen
- Telecentric Projection Lens Series
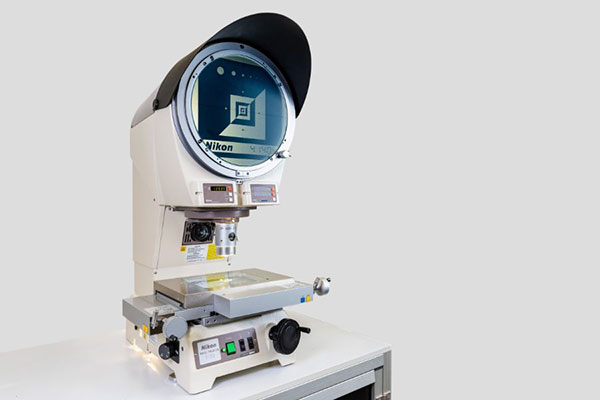
Profile Projectors - V-12B Series
-
The V-12B is a bench-top optical profile projector offering superb image quality to precisely measure a feature’s X-Y co-ordinates. The image of the sample is displayed on a 12” (305mm) screen, enabling accurate data capture from the stage.
High Precision Construction Provides Accurate Measurement Results
Product highlights:
- Large 12” (305mm) Projection Screen
- Optical Head Focusing
- Telecentric Projection Lenses
- Upright, Right-Way-Around Projected Image
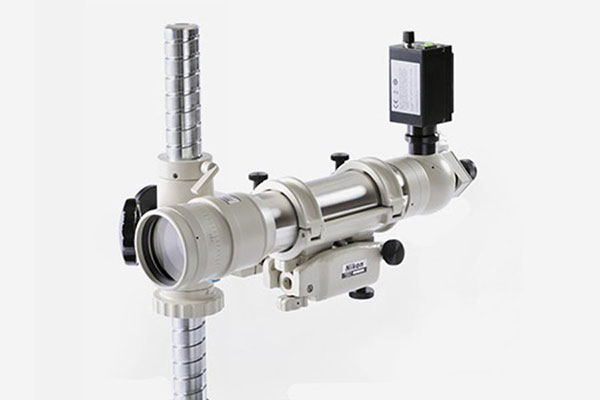
Autocollimators, Digital Length Measuring System 6B-LED
-
High Precision, Non-Contact Instruments For Verifying Component Dimensions
Applications include determining the precision and accuracy of rotary tables and dividing heads; checking deflection in components with small movements, including those made from very stiff materials; and use as a trusted comparator tool against a reference flat surface or a tilted angle block.
6B-LED and 6D-LED autocollimators provide brightfield or darkfield contrast for simultaneous measurements in two axes, enabling easy alignment and result generation.
Product highlights:
- Two Autocollimator Models Available
- Quantify Convex and Concave Curvature
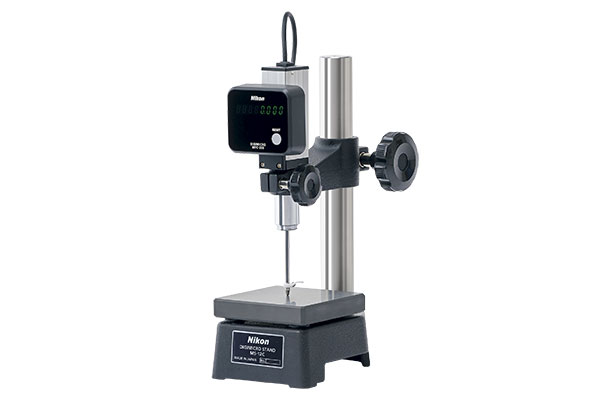
Digital Length Measuring System, DIGIMICRO Series
-
Extreme Precision, Guaranteed Accuracy.
Display values from 1µm to 0.01µm.Three digital heads – MF-1001:100mm travel, MK-501:50mm travel and MH-12M:15mm travel, with two counters – MFC-200: 0.1µm minimum readable value and accuracy of 3µm and TC-200: 0.01µm minimum readable value and accuracy of 1µm (0.7µm for the MH-15M). Accuracy figures are at 20°C.
Product highlights:
- Three Main Bodies, Two Counters
- Accessory Probe Tip Range
- Accessory Bench Stand Range
- Plunger Protective Anti-Dust Bellows

Autocollimators, Digital Length Measuring System 6D-LED
-
High Precision, Non-Contact Instruments For Verifying Component Dimensions
Applications include determining the precision and accuracy of rotary tables and dividing heads; checking deflection in components with small movements, including those made from very stiff materials; and use as a trusted comparator tool against a reference flat surface or a tilted angle block.
6B-LED and 6D-LED autocollimators provide brightfield or darkfield contrast for simultaneous measurements in two axes, enabling easy alignment and result generation.
Product highlights:
- Two Autocollimator Models Available
- Quantify Convex and Concave Curvature
Industrial Microscopy - Stereo Microscope Zoom Models
- Nikon offers a full range of stereo microscopes of both parallel optical path and Greenough design to suit diverse inspection and measurement tasks. The top-of-the-range SMZ25 instrument boasts the largest available stereo microscope magnification zoom ratio of 25:1, far exceeding that of any other model available globally.
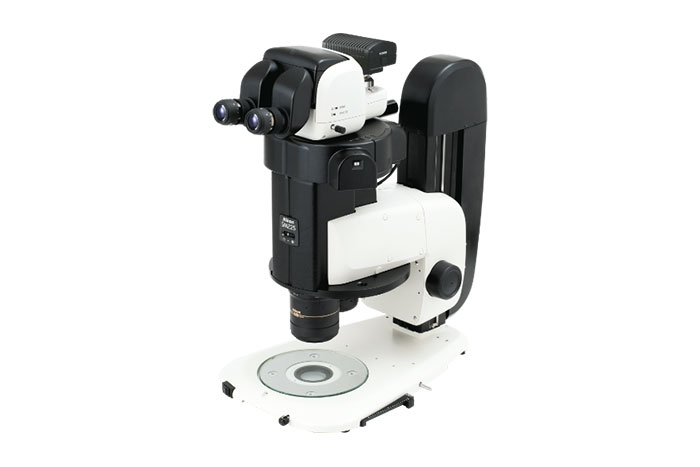
SMZ25 and SMZ18
-
The SMZ25 and SMZ18 stereo microscope zoom series offers outstanding image quality for both user observation and digital camera capture throughout the full magnification range.
World’s Leading High-Performance Zoom Stereo Microscopes
Nikon’s SMZ25 and SMZ18 revolutionise stereo microscopy with exceptional image resolution and the unique provision of 25:1 and 18:1 zoom ratios respectively.
Applications range from routine inspection of critical components to research and development and failure analysis of innovative structures and devices.Product highlights:
- Outstanding Optical Zoom Performance
- Superior Resolution, Parfocal Objectives
- Modular Accessory Components
- Ergonomic Design
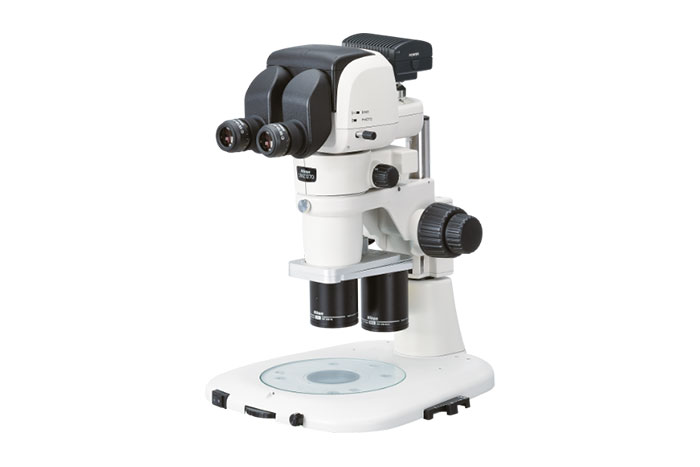
SMZ1270i and SMZ1270
-
The SMZ1270 series exceeds the standard imaging requirements when studying features on minute objects. It is especially suitable for materials science, industrial manufacturing applications and in-line process control functions
Incredible Image Sharpness throughout the Wide Magnification Range
Ideal for failure analysis studies, defining modes of failure and verifying solutions. Component surface examination, crack-detection, corrosion studies, composite materials, textiles, parts produced by machine tools for critical aerospace components or building and construction materials are all carried out easily.
Product highlights:
- Wide Low Power Field-Of-View
- High Quality Images
- Wide Range of Accessories
- Ergonomic in-use Design Concept
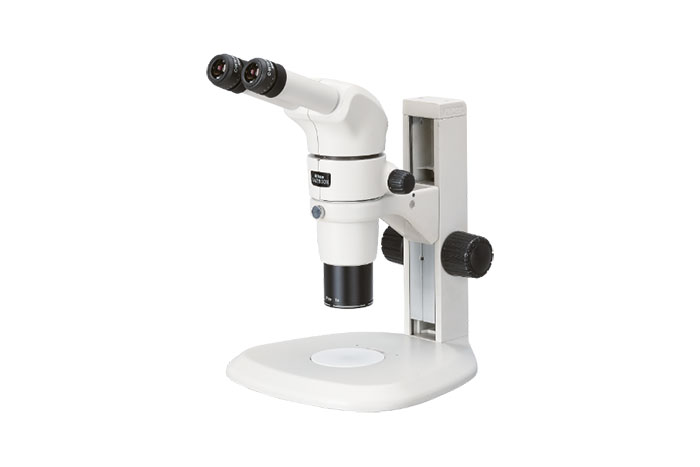
SMZ800N
-
By expanding the magnification to an 8:1 zoom ratio (1x-8x), the SMZ800N provides ease of use and high definition imaging essential for electronic component inspection and failure analysis.
Incredible Image Sharpness throughout the Wide Magnification Range
Ideal for failure analysis studies, defining modes of failure then verifying solutions. Component surface examination, crack-detection, corrosion studies, composite materials, textiles, parts produced by machine tools for critical aerospace components or building and construction materials are all carried out easily.
Product highlights:
- Best-in-Class 8:1 Optical Zoom
- High Quality Images
- Ergonomic in-use Design Concept
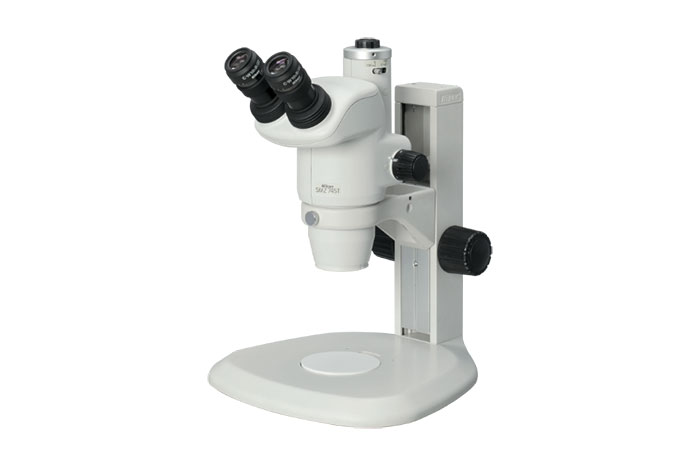
SMZ745T and SMZ745
-
The high zoom magnification range of 7.5:1 and super-long working distance of 115mm show why both the SMZ745T and SMZ745 stereo microscopes are so well suited to materials research and production line applications.
7.5:1 Zoom, 115mm Working Distance and Compact Design
Ideal for failure analysis studies, defining modes of failure then verify solutions. Component surface examination, crack-detection, corrosion studies, composite materials, textiles, parts produced by machine tools for critical aerospace components or building and construction materials are all carried out easily.
Product highlights:
- 7.5:1 Optical Zoom Ratio
- Functional and Robust Design
- 5 Auxiliary Objectives Available
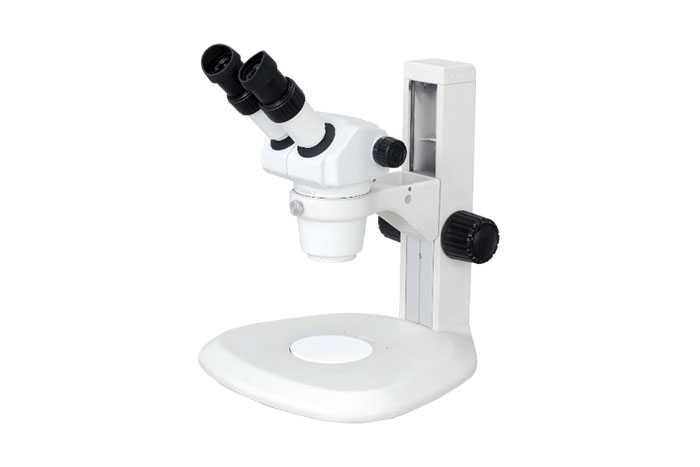
SMZ445 and SMZ460
-
The SMZ445 and SMZ460 are ideal for production quality control functions for both routine and critical applications, for failure analysis to determine and predict modes of failure and to verify solutions.
Compact Design Enables Easy to Achieve Fine Resolution
The SMZ445 and SMZ460 models offer great optical performance in compact bodies enabling quality images for the user with superior flatness, all achieved from an optical design and high production quality standards applied to all Nikon’s stereo microscope zoom systems.
Product highlights:
- Standard Zoom Magnification Range
- All-in-One LED Hybrid Stand
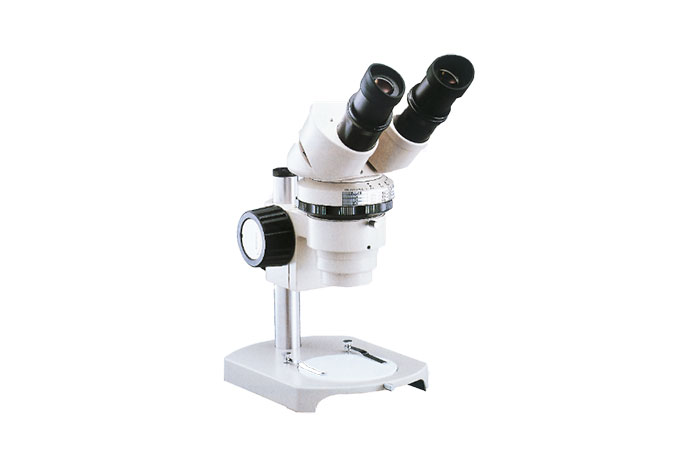
SMZ-2
-
The long established SMZ-2 model has been available since 1961. With a high and parfocal zoom range of 5:1 and circular disk zoom control ring, it remains a superb instrument.
5:1 Zoom, 77.5mm Working Distance and Compact Design
Nikon’s SMZ-2 stereo microscope is ideal for failure analysis, defining modes of failure and verifying solutions. Component surface examination, crack detection and corrosion studies may be performed easily. The instrument is also well suited to examination of composite materials, textiles, parts produced by machine tools such as critical aerospace components, and building and construction materials.
Industrial Microscopes
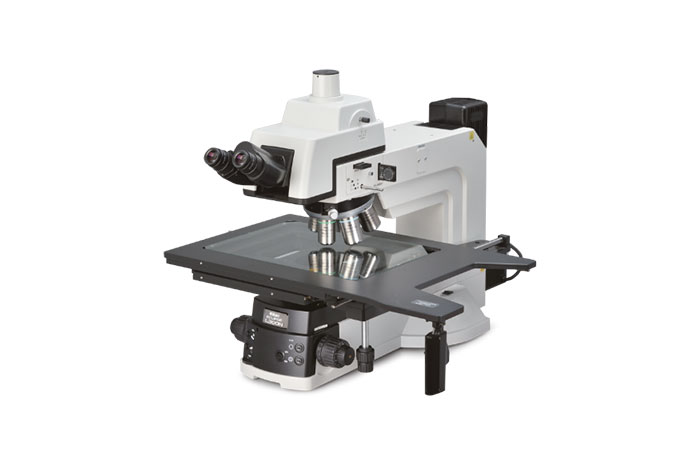
UPRIGHT MICROSCOPES - ECLIPSE L300ND, L300N and L200ND, L200N
-
A range of semiconductor microscopes ideal for inspection of integrated circuits (IC), flat panel displays (FPD), large scale integration (LSI) electronic devices and many more applications.
Advanced Semiconductor Microscopes for Inspecting the Latest Fabrications
Superb Nikon CFI60-2 optics provide excellent images to both eyepieces and also to Nikon’s digital imaging cameras with analysis software. Combining these superior optics with an extraordinary illumination system delivers images of excellent contrast and resolution.
Product highlights:
- Nikon CFI60-2 Optical Series
- Universal Optical Contrast Methods
- Intelligent Digital Communication
- Ergonomic Design Concept
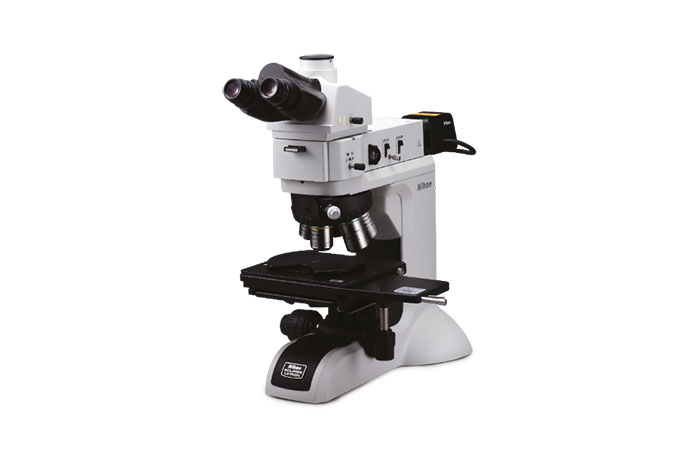
UPRIGHT MICROSCOPES - ECLIPSE LV150NA and LV150N
-
A flexible, modular, upright microscope series for various episcopic optical contrast techniques (BF-DF-DIC-POL-Fluorescence-Interferometry), together with digital imaging accessories and large stage XY travels, ideal for semiconductor and material inspection activities.
Modular, Motorised and Manual Upright Microscopes
Superb Nikon CFI60-2 optics provide excellent images to both eyepieces and to Nikon’s digital imaging cameras with analysis software. Thanks to the modular design, the universal microscope allows complementary optical contrast techniques on one microscope stand.
Product highlights:
- Universal Optical Contrast Methods
- Modular Component Accessories
- Intelligent Digital Communication
- Ergonomic Design
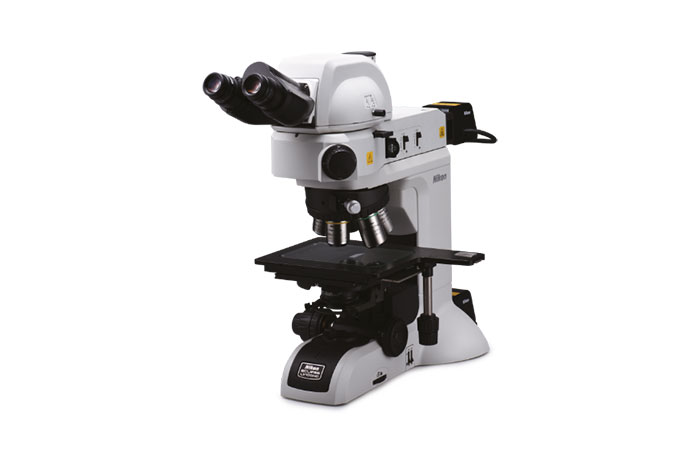
UPRIGHT MICROSCOPES - ECLIPSE LV100NDA and LV100ND
-
The ECLIPSE LV100NDA and LV100ND series of flexible, modular, upright microscopes from Nikon is designed for episcopic and diascopic optical contrast techniques. The instruments can be supplied with digital imaging camera accessories and are ideal for material inspection in many industrial applications.
Modular Motorised and Manual Upright Microscopes
Superb Nikon CFI60-2 optics provide excellent images to both eyepieces and to Nikon’s digital imaging cameras with analysis software. The universal microscope design allows complementary optical contrast techniques together on one microscope stand thanks to a modular component programme.
Product highlights:
- Universal Optical Contrast Methods
- Modular Component Accessories
- Intelligent Digital Communication
- Ergonomic Design
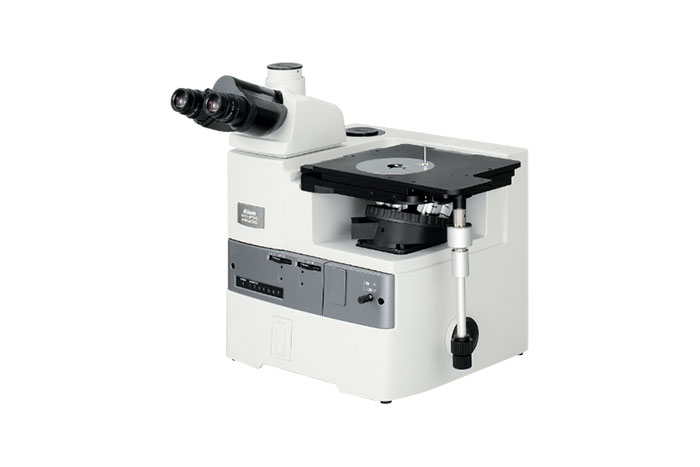
INVERTED MICROSCOPES - ECLIPSE MA200
-
The Nikon ECLIPSE MA200 is a flexible, modular, inverted microscope of innovative box design for episcopic optical contrast inspection techniques in conjunction with digital imaging accessories. It is ideal for metallurgical material inspection in many industrial applications.
Nikon’s Most Advanced, Modular, Ergonomic, Inverted Metallurgical Microscope
Superb Nikon CFI60-2 optics provide excellent images to both eyepieces and to Nikon’s digital imaging cameras with analysis software. The universal microscope design allows complementary optical contrast techniques together on one microscope stand thanks to a modular component programme.
Product highlights:
- Universal Optical Contrast Methods
- Modular Component Accessories
- Intelligent Digital Communication
- Ergonomic Design Concept
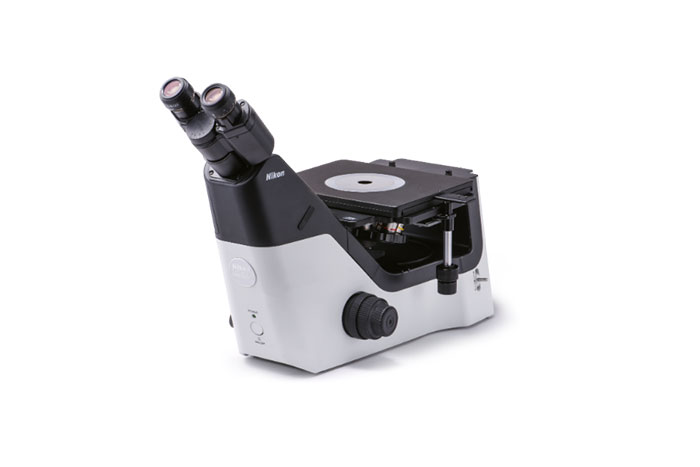
ECLIPSE MA100N
-
A flexible, compact, affordable, modular inverted microscope for episcopic optical contrast techniques. Together with digital imaging camera accessories, it is ideal for metallurgical material inspection in many industrial applications.
Compact, Robust, User-Friendly, Inverted Metallurgical Microscope
Superb Nikon CFI60-2 optics provide excellent images to both eyepieces and to the optional port on Nikon’s digital imaging cameras with analysis software. The microscope design allows complementary optical contrast techniques.
Product highlights:
- Nikon CFI60-2 Optical Series
- LED Illumination, Compact Body
- Modular Component Accessories
- Modular Stage, Object Holders
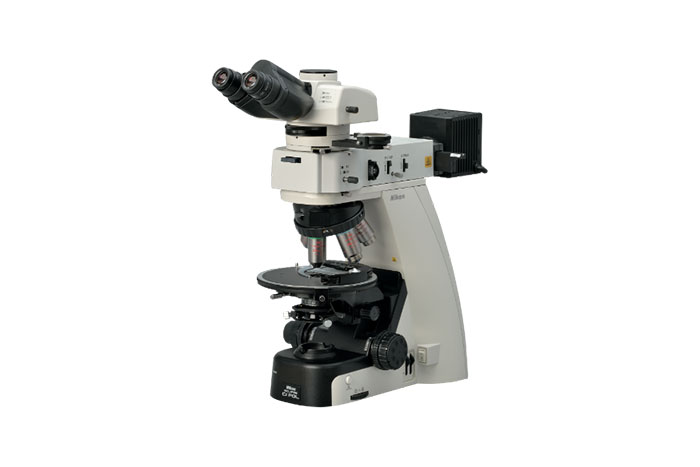
ECLIPSE LV100N POL and Ci-POL
-
A series of polarising microscopes used to observe the birefringent properties of anisotropic specimens by observing image contrast and colour changes. Nikon offers systems for both quantitative and qualitative studies.
All Applications from Research to Routine are Addressed
Superb Nikon CFI60-POL optics provide excellent images to eyepieces and to Nikon’s digital cameras.
LV100N POL enables a range of studies from conoscopy to orthoscopy using a full range of dedicated accessories.
Ci-POL enables a range of studies on a compact microscope.Product highlights:
- Diascopic and Episcopic Illumination
- Full Range of Optical Accessories
- 30mm Long Focus Stroke
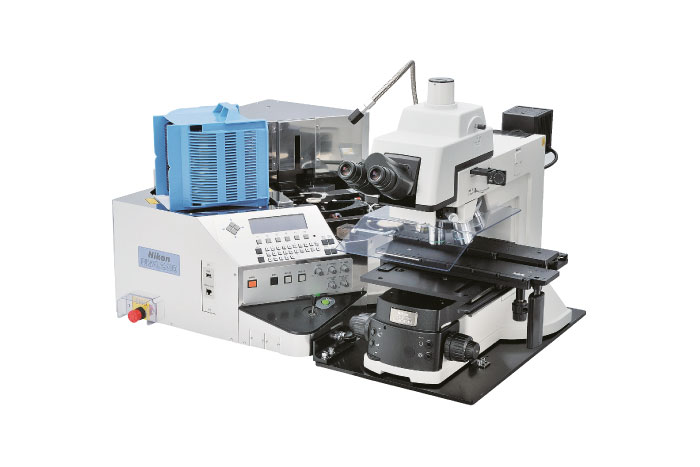
NWL200 Wafer Loader Series
-
Fully featured NWL200 series models support the full range of inspection requirements for 6-inch (150mm) and 8 inch (200mm) diameter semiconductor wafers using optical microscope or video measurement instruments e.g. Nikon NEXIV.
Sophisticated, Trusted Loader for Handling a Variety of Wafers
The NWL Series is a superb line-up of semiconductor wafer loaders from Nikon capable of transferring 6″ (150mm) and 8″ (200mm) diameter wafers down to a thickness of 100 microns (option) onto Nikon Eclipse L200N and LV150N microscopes or a NEXIV VMZ-S video measuring system.
Product highlights:
- High Reliability in Semiconductor Production
- Macro Inspection Functions
- Designed for Maximum Throughput
- Ergonomic Design
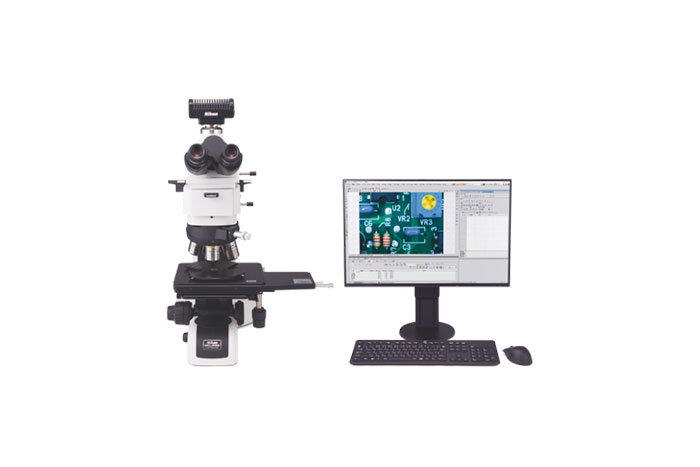
Software
-
NIS Elements software manages Nikon Digital Sight cameras to capture the best images for processing. It organizes images, processes them logically and in a smooth workflow.
Nikon NIS-Elements Imaging Software
NIS-Elements is a fully featured imaging software solution for microscopy.
Fast, powerful imaging processing tools are available, such as for creating a mosaic or compound image from many separate images, e.g. following a long micro-crack on a sample surface from start to finish.
For industrial applications, Nikon offers NIS-Elements AR (Advanced Research), BR (Basic Research), D (Documentation), and L (for a tablet PC).
Product highlights:
- NIS-Elements BR
- NIS-Elements D
- NIS-Elements L
Microscope Components
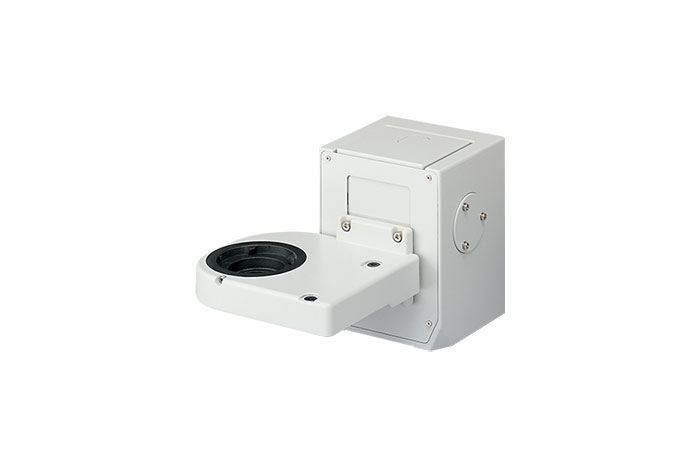
Focusing Modules, Base, Arm and Motorised Controller
- Modular units provide great flexibility in configuring systems for all applications.
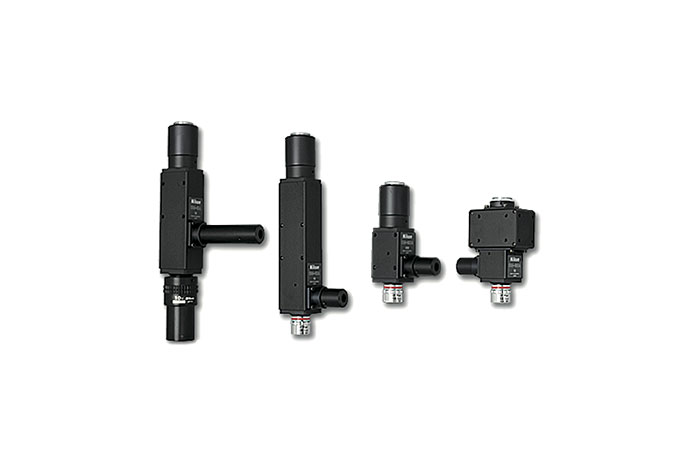
CM-Series Compact Reflected Microscopes
- These are ultra-compact, reflected light microscopes for integration into production processes, providing in-line monitoring.
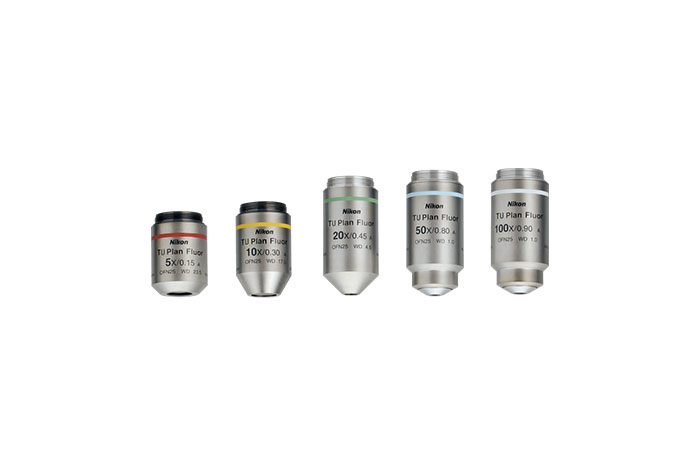
Objective Lenses
- There are four objective lens families: CFI60-2, CFI60, CF&IC for compound microscopes and a Measuring Microscope Objective series.
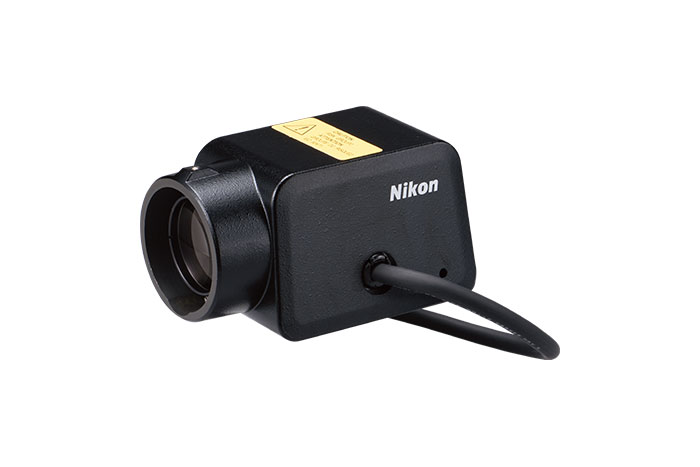
Compound Microscope Modular Components
- Accessories include universal epi-illuminators, revolving nosepieces, eyepieces, camera C-mounts and observation tubes.
Digital Cameras for Microscopes
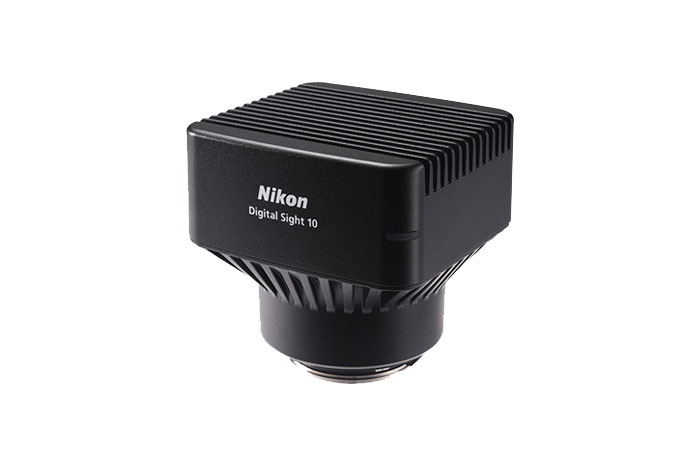
Digital Sight 10
- A high definition camera for capturing both colour and monochrome images without loss of quality across a full range of observation modes.
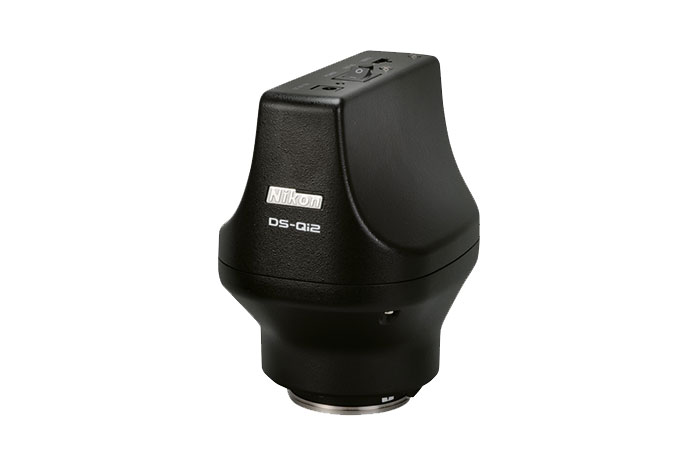
DS-Qi2
- The DS-Qi2 camera utilises the full frame Nikon FX 16.25 megapixel CMOS sensor, providing outstanding monochrome image quality.
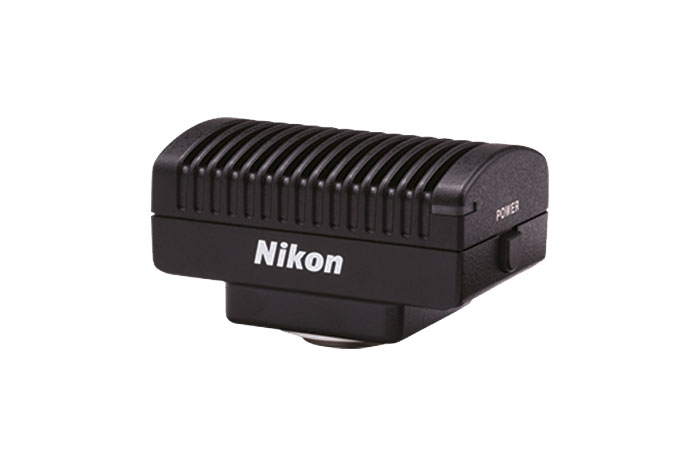
DS-Fi3
- With high speed data readout, superior colour reproduction and high quantum efficiency, the DS-Fi3 is optimised for imaging using contrast methods such as brightfield, darkfield, differential interference contrast (DIC) and polarisation contrast (POL) to suit a wide range of applications .
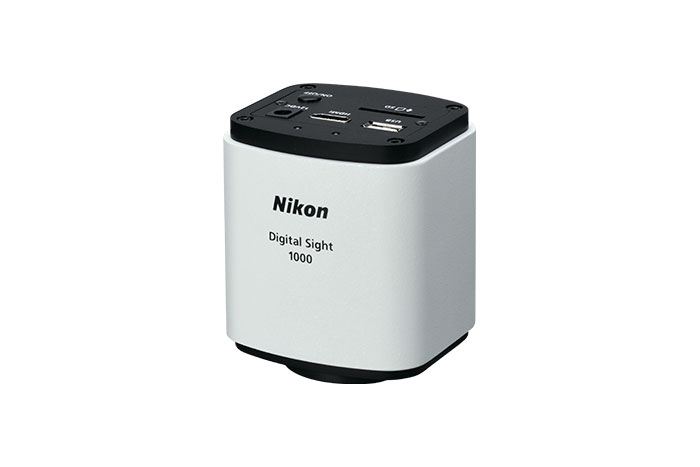
Digital Sight 1000
- Equipped with a 2 megapixel CMOS sensor, the entry level Digital Sight 1000 displays a live image at 30fps, then captures and saves full HD 1920×1080 pixel images to the built-in SD card or via a USB connection.
